&srotate=0)


Why 3D Puff Embroidery Digitizing Creates Bold Brand Impressions
Explore how 3D puff embroidery digitizing adds striking depth and dimension to logos, making your designs pop on caps, jackets, and more.
A sportswear startup once struggled to get their logo to pop on their merchandise. No matter how bold the colors, flat embroidery just didnt deliver the look and feel they wantedsomething that stood out, something tactile. The solution? 3D puff embroidery digitizing, a technique that gave their logo the lift, impact, and brand strength they had envisioned.
3D puff embroidery is the go-to method when your designs need to break out of the fabric and make a statement. With the right digitizing approach, it offers unmatched texture, boldness, and dimensional detail.
What Is 3D Puff Embroidery Digitizing?
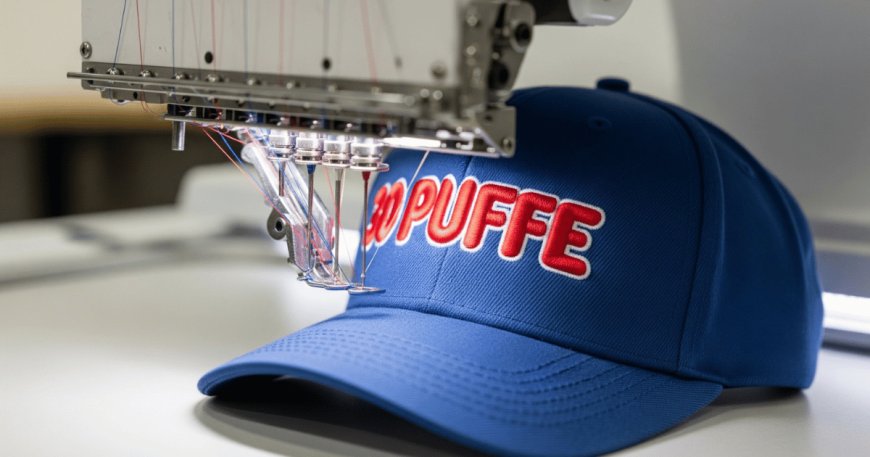
3D puff embroidery digitizing is the specialized process of preparing artwork so that embroidery machines can stitch over foam material, creating a raised effect. This technique is particularly popular for hats, hoodies, varsity jackets, and custom branding items.
Unlike standard embroidery, which lies flat on fabric, puff embroidery builds elevation using foam as a base. The digitizer must carefully assign stitch types, densities, and paths to ensure the thread traps the foam securelycreating that signature 3D look.
Curious how it's professionally done? See this detailed example of 3D puff embroidery digitizing.
Why Go 3D?
The answer is simple: impact. 3D puff adds visual and physical dimension to a design. Whether it's a single letter on a cap or a bold logo on a hoodie, puff designs immediately draw attention. The result is:
-
Elevated brand recognition
-
A premium, tactile feel
-
A fashion-forward aesthetic
-
Better visibility from a distance
Thats why streetwear brands, sports teams, and event merchandisers frequently turn to this technique for standout apparel.
Digitizing for Puff: The Process
Digitizing for 3D puff embroidery is far more complex than regular digitizing. Heres how it works:
-
Design Simplification Puff works best with bold, blocky shapes. Thin lines or intricate detail wont support the foam or show well.
-
Stitch Direction Stitches must trap the foam tightly without cutting through it. Too little coverage and the foam pops out. Too much and it flattens.
-
Density & Underlay The digitizer adjusts stitch count and uses edge-walk or center-run underlay to keep the design stable.
-
Capping Designs with open ends must be capped properly so foam doesnt peek through.
Its a highly technical process, and even the smallest error in the digitized file can ruin the effect or damage garments.
Where It's Used
3D puff embroidery shines in industries where visibility, boldness, and brand identity are essential. Some of the most common applications include:
-
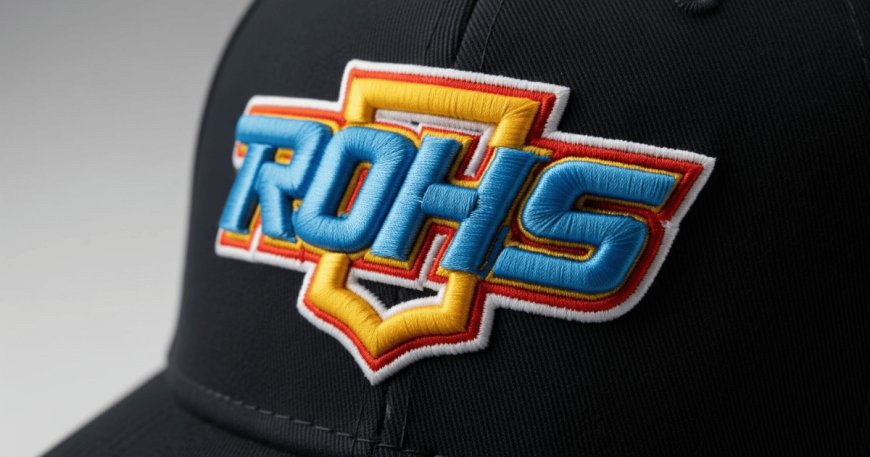
Caps & hats: Think baseball caps, trucker hats, and snapbacks with raised monograms.
-
Athletic wear: Jackets, team uniforms, and jerseys often feature puff-embroidered numbers or initials.
-
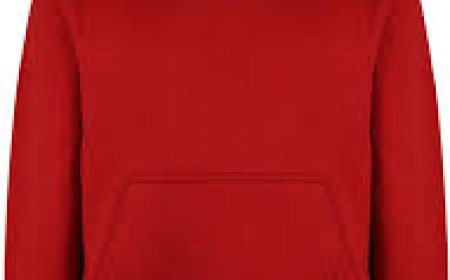
Streetwear: Hoodies and crewnecks with oversized logos or statements benefit from this layered texture.
-
Promotional gear: Custom puff embroidery makes event giveaways and branded items look premium and professional.
Choosing the Right Foam & Thread
Foam type and thickness play a huge role in the final result. Typically, 2mm to 6mm foam is used, with thicker foam delivering bolder puff but requiring stronger thread coverage. The color of the foam should also match the thread to prevent exposure through the design edges.
Polyester thread is preferred for puff due to its durability and flexibility. Glossy threads also add to the visual depth by catching light differently on curved surfaces.
Common Digitizing Mistakes to Avoid
Not every design is suitable for 3D puff. Common errors made during the digitizing phase include:
-
Using thin or serif fonts
-
Excessive detail in the puff area
-
Inconsistent stitch density
-
Incomplete capping
-
Underlay thats too sparse or too heavy
These issues often lead to stitching that collapses the foam or allows it to show through, resulting in poor-quality output.
Thats why a skilled digitizer with experience in puff techniques is essential to achieving that premium finish.
Why Manual Digitizing Is a Must
Auto-digitizing tools struggle to correctly interpret the demands of 3D puff. While they may work for flat embroidery, puff requires a human eye for stitch sequencing, tension balancing, and foam behavior. Manual digitizing ensures:
-
Clean start and stop points
-
Consistent foam coverage
-
Even satin columns
-
Precision borders with no fray
With 3D puff, every curve and edge mattersprofessional digitizing ensures that every element holds its shape and dimension throughout stitching and wear.
Design Tips for Best Puff Results
If you're planning to use puff embroidery, consider these design practices:
-
Keep it bold Use thick fonts and solid shapes
-
Avoid small gaps Leave room for foam expansion
-
Limit color blending Stick to 1-2 colors in puff areas
-
Choose high-contrast threads for better visual effect
-
Test stitch-outs before mass production to catch any design flaws early
Conclusion
3D puff embroidery digitizing is more than just a visual upgrade its a branding statement. When done right, it adds value, professionalism, and presence to any garment. From bold hat logos to standout apparel accents, puff embroidery gives your brand a tactile and visual edge.